Whistler Mountain Bike Park: A Beginner's Guide
Can a beginner ride Whistler Mountain Bike Park?
Yes. The park has been open since 1999 and grades every trail from green to double-black, with a dedicated lift and a beginner zone at the base. A first-timer should stay on green and easy blue runs and take a lesson before riding, since the black and double-black network is genuinely expert terrain, not an extension of the easy trails.
Yes, But the Trail Choice Matters More Than the Question
Whistler Mountain Bike Park has been open since 1999, and in that time it has become the reference lift-served downhill park anywhere in the world. That reputation is built on its hardest terrain, and it is easy to read a highlight reel of jumps and rock rolls and assume the whole mountain looks like that. It does not. The park grades every trail on the same green-blue-black-double-black scale used on the ski runs above it, and a real beginner zone sits right at the base, built for people who have never clipped into a park bike before.
So the honest answer is: yes, a beginner can ride here, and on the right trails it is one of the best introductions to lift-served mountain biking anywhere. The trap is assuming that “beginner can ride the bike park” means the whole park is beginner terrain. It does not. Above the green network, the mountain gets serious fast, and the difference between an easy blue and an intermediate black is not a matter of confidence - it is a matter of what the trail is actually built to do to a rider who is not ready for it.
This guide covers the graded trail system, what a first visit should actually look like, whether to rent gear or take a lesson, and how to avoid the one mistake that sends more beginners home early than anything else: picking a trail above their level because it looked fine from the chairlift.
How the Grading System Actually Works
The park uses four colours, the same shorthand skiers already know from Whistler Blackcomb in winter.
| Grade | Colour | What it means on a bike |
|---|---|---|
| Beginner | Green | Wide, smooth, banked turns; no jumps or drops; low average speed |
| Easy Intermediate | Blue | Narrower, faster, small rollable features; still no mandatory jumps |
| Intermediate | Black | Steeper, rougher, jumps and drops that are not optional to clear the line |
| Expert | Double Black | Big jumps, exposed drops, technical rock; built for experienced park riders only |
A green trail and a black trail can start within a few metres of each other at a trail junction, and the fork is usually marked clearly - but it is still the rider’s job to read the sign and take the correct one. This is the single most common mistake on a first visit: following a friend, or the flow of the crowd, onto a trail graded above your level because the entrance looked no different from the green you just rode.
Easy Does It is the trail most first-timers ride first. It is a genuine green: wide, smooth, banked corners at low speed, with no jumps to clear and no technical rock. It sits close to the base area, which also makes it the easiest trail to lap while you get used to how a full- suspension park bike handles compared to anything you have ridden before.
One trail this guide deliberately does not cover in depth is A-Line - the park’s most famous black run, a rollercoaster of berms and jumps that shaped the mountain’s reputation. It deserves its own page, and it is not a trail to treat as a stretch goal on your first day; see the dedicated guide to A-Line’s difficulty once you have a season or two of park riding behind you.
What a First Visit Should Actually Look Like
Rent before you ride. Park-specific bikes are long-travel, full-suspension machines built to absorb impacts that would rattle a normal trail or road bike apart. Almost nobody who rides here for the first time owns one; renting a bike, full-face or open-face helmet, gloves and body armour at the base is the default, not a compromise.
Take a lesson. A short group lesson, or a private one if you would rather not learn in front of strangers, covers three things in an hour that otherwise take a painful afternoon to learn the hard way: braking without going over the bars, keeping weight back and low through corners, and reading a trail’s grading and features before you commit to it. A mountain bike lesson in Squamish, held on similarly graded terrain nearby, works well as a warm-up the day before a Whistler park visit if your schedule allows it.
Start green, stay green until it’s boring. Lap Easy Does It, or whichever green trail the lesson recommends, until the bike feels ordinary under you - not until you are bored of it after one run. Moving up a grade before braking and cornering are automatic is exactly how a fall happens on the next trail up.
Move to blue deliberately. Easy intermediate trails add speed and narrower lines but are still built without mandatory jumps - you can roll every feature. This is the honest next step, not black.
Leave black and double black for a later trip, or a much later run in the same trip. These trails have mandatory jumps and drops built into the line: skipping one is not simply an option you decline, it can mean stopping mid-trail on terrain not designed to be walked. That is where “technically rideable by a fit adult” and “appropriate for a first visit” stop meaning the same thing.
Lift, Tickets and Timing
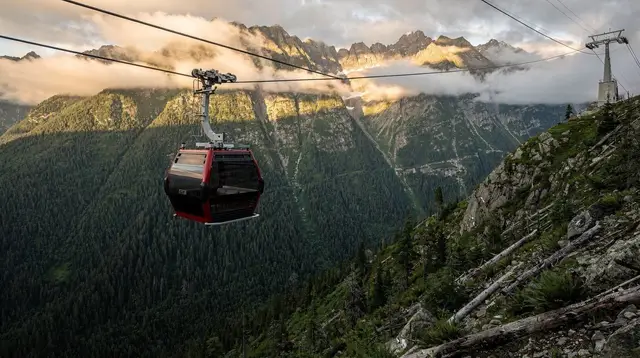
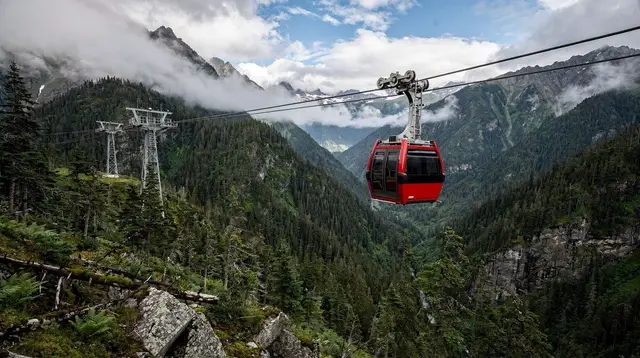
A dedicated chairlift, separate from the ski lifts, carries riders and bikes up the mountain - bikes hang from a rack on the front of the chair, and getting a bike loaded and unloaded is itself a small skill a lesson or the lift staff will walk you through the first time. From the top, riders choose a graded trail back down and can lap the same lift repeatedly on a day ticket.
The park runs a summer season only, once the lower mountain has cleared of snow; exact opening and closing dates shift every year with the snowpack and should be checked before locking in travel dates, the same way you would check the Whistler Blackcomb ski season before a winter trip. Early and late season days tend to be quieter than the peak of summer, when Crankworx fills the village every August and lift lines lengthen accordingly.
| Season window | Crowds | Notes for beginners |
|---|---|---|
| Opening weeks (spring) | Light | Fewer riders on green trails, but check trail openings - not everything is groomed yet |
| Mid-summer | Heavy, peaks around Crankworx | Best trail conditions, busiest lift lines |
| Closing weeks (early autumn) | Light to moderate | Cooler mornings, trails often in excellent shape |
What to Bring
A closed-toe shoe with a stiff sole, gloves, and a helmet are non-negotiable, and all three can be rented if you do not own park-appropriate gear. Long sleeves and knee pads are optional but sensible for a first visit, since low-speed tumbles on gravel are the most common minor injury, not high-speed crashes. Bring water, sunscreen and a light layer - the base of the park sits in the valley near Whistler Village at a comfortable summer temperature, but a breeze at higher trail junctions can still catch riders in shorts and a t-shirt off guard.
Beyond the Bike Park: What Else Fits the Day
Whistler Mountain Bike Park is a full-day activity in itself, but it is not the whole valley. If you are visiting on a single trip that is not entirely bike-focused, the base of the park sits a short walk from Whistler Village and from Lost Lake, both easy to fold into the same day once your legs have had enough of the chairlift.
First-timers to the valley more broadly often prefer a guided day trip that pairs the village with a wider orientation of the resort before or after a biking day, and anyone wanting a rest day between two riding days tends to gravitate toward a guided wilderness hike on gentler ground rather than another day on two wheels. In the evening, a multi-stop guided tasting through the village’s restaurants is a reasonable way to recover with sore forearms and no cooking required.
For trip planning that goes beyond a single day, the Whistler Mountain Biking Getaway itinerary lays out a multi-day structure that builds from green to blue terrain deliberately, and how many days you actually need in Whistler is worth reading before booking flights if biking is the main reason for the trip.
If you are choosing between a winter or summer visit in the first place, Whistler in summer versus winter covers the trade-offs, and the terrain size and glacier guide explains why the same mountain that hosts the bike park in summer is the largest ski area in North America in winter.
Common Beginner Mistakes to Avoid
Following someone onto a trail above your grade. The single biggest cause of a bad first day. A trail fork you do not recognise is worth stopping to read, not following on instinct.
Skipping the lesson to save time or money. An hour of instruction is cheap compared to a day cut short by a fall in the first ten minutes.
Treating green as a warm-up to rush through. Green trails teach braking and cornering at a speed where mistakes are cheap. Skipping that step does not save time - it moves the learning curve to a trail where mistakes are expensive.
Underestimating how different a park bike feels. Long-travel suspension and a slacker geometry change how the bike responds to braking and steering input compared to a normal mountain bike. Give yourself a full green lap or two before assuming you already know how it handles.
Ignoring closures and grooming notices. Trails are groomed and occasionally closed for maintenance or weather; check the day’s trail status board at the base rather than assuming yesterday’s map is current.
Whistler Mountain Bike Park for Beginners: FAQ
Can a complete beginner ride Whistler Mountain Bike Park?
Yes, as long as they stay in the graded beginner and easy-intermediate zone near the base. The park uses the same green-blue-black-double black system as ski runs, and the green trails are built specifically for first-time riders, with wide, smooth, well-banked turns and no jumps.
What is the easiest trail at Whistler Mountain Bike Park?
Easy Does It is the reference beginner trail: a green run built to introduce braking, cornering and basic body position at low speed. It sits close to the base and is usually the first run a lesson group rides.
Do I need my own mountain bike?
No. Full-suspension downhill bikes, pads and a helmet can all be rented at the base on the day. This is normal practice, since park-specific bikes are heavier and more capable than a standard trail or road bike and most visitors do not own one.
Is a lesson worth it for a first visit?
For most people, yes. A short group or private lesson covers braking, body position and how to read a trail grading before the lift, which is exactly the gap that causes falls on a first visit without one.
How does the lift work at the bike park?
A dedicated chairlift carries riders and bikes up the mountain; bikes hang from a rack on the front of the chair. Riders then choose a graded trail back down, and can lap the same lift as many times as the day ticket allows.
When is Whistler Mountain Bike Park open?
The park runs a summer season only, typically from spring through early autumn once the snow has cleared from the lower mountain; exact opening and closing dates move every year and should always be checked before booking travel.
What should a beginner wear and bring?
A full-face or open-face helmet (rented if needed), closed shoes, gloves, and clothes that can take a fall - long sleeves and knee pads reduce scrapes considerably. Water, sunscreen and a light layer for the summit are worth carrying even on a warm valley day.
Mountain Biking on GetYourGuide
Verified deep-linked GetYourGuide tours. Book through these links and we earn a small commission at no cost to you.
GetYourGuide does not provide a product photo for this activity — the image shows the meeting point, photographed by us.